Extending Jira with Phoenix
As a consultancy we use a variety of project management tools depending on the client we're working with and one of those tools happens to be Jira. We also have a standard way (when possible) of reporting progress towards goals; the burnup chart.
Whilst Jira does have burnup charts, one of the clients we are currently working with works in sprints, and Jira will only give you burnups for a given sprint not towards a given release. While we know that the sprint should be the release, let's for know acknowledge that life is rarely ideal and that we have good, pragmatic reasons for not following this rule.
So, what we want to do is to build our own burnup chart that will let us view the chart that we want and to easily share this with the client.
Jira has the concept of Connect apps. These are applications that can be written in any language that can be registered with Jira through an uploaded JSON config file. This will then place a link in the sidebar in Jira that, when clicked, will display the given URL within an iframe to the right of the sidebar. That means that you can serve pretty much anything you like, such as a custom burnup for example, as long as it works inside of an iframe.
Prerequisites
- A vanilla phoenix app set up called 'PhoenixInJira' that is deployed somewhere on a public url (more on this below).
- Access to a Jira instance that you have admin rights to.
A note about deployment
In order to work, a connect app needs to be publically visible on the internet via a url that Jira can access. We chose to do this on Heroku but you can also us ngrok to get up and running faster.
Ngrok will give you a new url every time it starts, which can be problematic if you are working with another developer and you are both uploading the connect app to Jira.
The Moving Parts
Atlassian Connect requirements
To allow Jira to interact with our application, we need to serve up a json file, with a name we specify, in a particular format that Jira will access remotely.
Create a file called atlassian-connect-staging.json in your apps/phoenix_in_jira_web/assets/static/ folder.
Note that we have appended staging to the name so that we can run different versions of the app within Jira, but you don't need to do this.
{
  "name": "Phoenix in Jira",
  "description": "A tool that interacts with Jira",
  "key": "com.cultivatehq.phoenix-in-jira",
  "baseUrl": "https://phoenix-in-jira-staging.herokuapp.com",
  "vendor": {
    "name": "Cultivate",
    "url": "http://cultivatehq.com"
  },
  "authentication": {
    "type": "none"
  },
  "apiVersion": 1,
  "modules": {
    "generalPages": [
      {
        "url": "/",
        "key": "phoenix-in-jira",
        "location": "system.top.navigation.bar",
        "name": {
          "value": "Phoenix in Jira"
        }
      }
    ]
  }
}
The 'baseUrl' should match the public url that we choose to host our app on, Heroku in our case. Whatever value we put in modules -> generalPages -> name -> value will appear on a button on the side bar. The top level 'name' will only appear on the admin screen where we upload the app.
Next we need to make this file publicly available by adding the following code to apps/phoenix_in_jira_web/lib/see_ra_web/end_point.ex
plug Plug.Static,
  at: "/",
  from: :see_ra_web,
  gzip: false,
  # this line was already here, we have appended the name of the json file to it
  only: ~w(css fonts images js favicon.ico robots.txt atlassian-connect-staging.json)
Make sure your remote version of the app is up to date with these changes, then we can go and tell Jira how to find it.
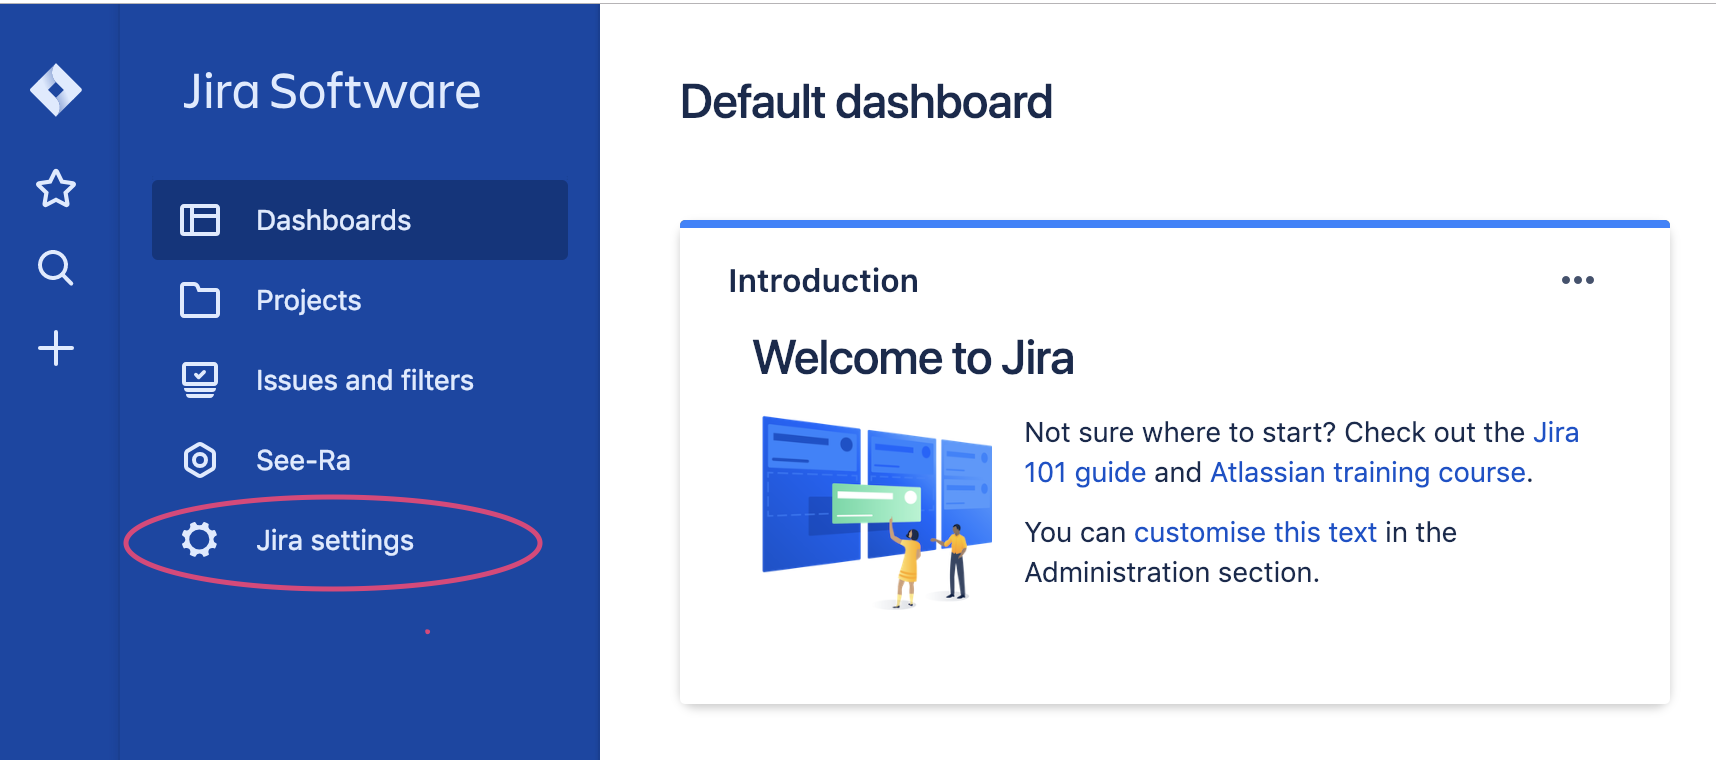
In Jira, look for the button that says 'Jira settings'

From there choose Apps -> Manage apps.
The first time you visit this page, you need to click the 'Settings' link and 'enable development mode'.
Next, click the upload app link and point to https://your-url.com/atlassian-connect-staging.json. It doesn't matter what the file was called, as long as we reference it correctly in this step and use the name of the file that we created earlier.
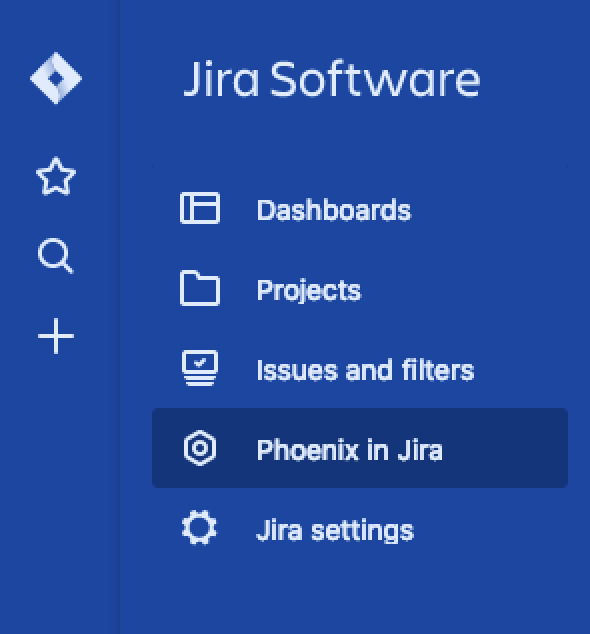
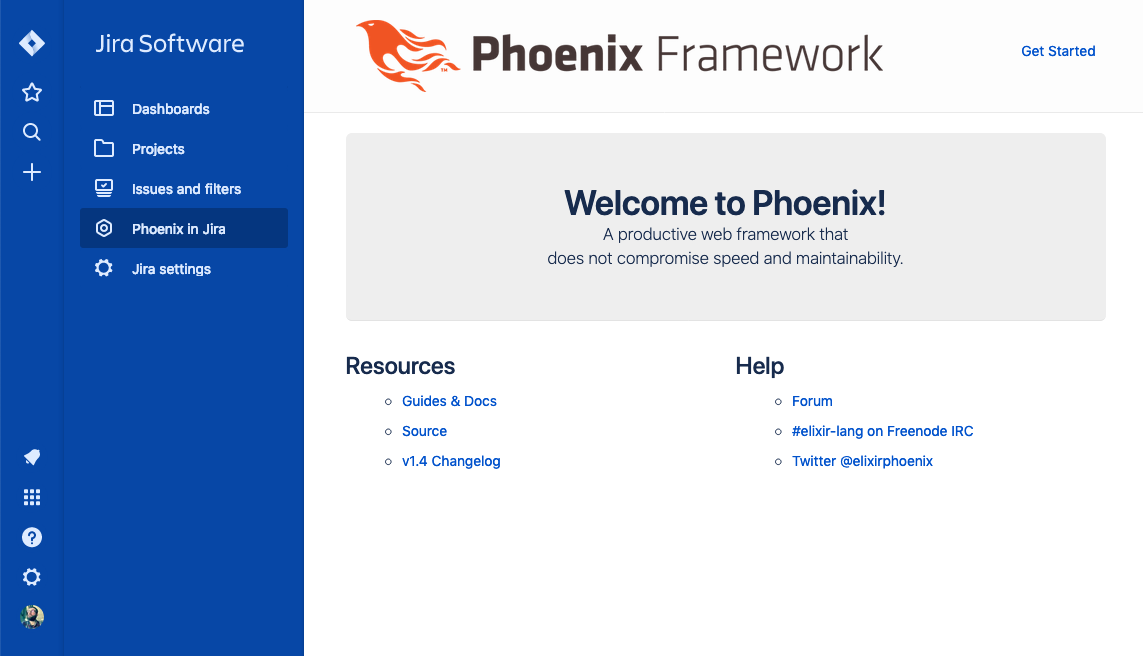
Once it's installed you should see a button titled 'Phoenix in Jira' in the sidebar, that will display the contents of your app in an iframe in the main panel on the right.

However, you'll notice that it's currently displaying an error - we have some more work to do to make it display the app contents.
Displaying the app contents in the Jira iframe
Remove the X-Frame-Options header
To get the contents of our app to display, we need to remove the header 'X-Frame-Options' from being sent in the response. This is something Phoenix adds by default. Follow the steps in our other bytesize blog to remove the header.
CSS and JS links
Next we need to add the js and css from Atlassian that allows the iframe to behave properly.
Add the following lines to your layout file /apps/phoenix_in_jira/lib/phoenix_in_jira_web/templates/layout/app.html.eex:
<head>
    <!-- other head content here -->
    <link rel="stylesheet" href="https://unpkg.com/@atlaskit/[email protected]/dist/bundle.css" media="all">
    <script src="https://connect-cdn.atl-paas.net/all.js" async></script>
</head>
We also need to decorate a containing element with the class and id needed to resize the iframe to fit the available space.
Add the following to a containing tag in the same file:
  <body>
    <div id="content" class="ac-content">
    <!-- rest of app content here -->
    </div>
  </body>
Now we should be able to see our Phoenix app displaying in Jira!
